
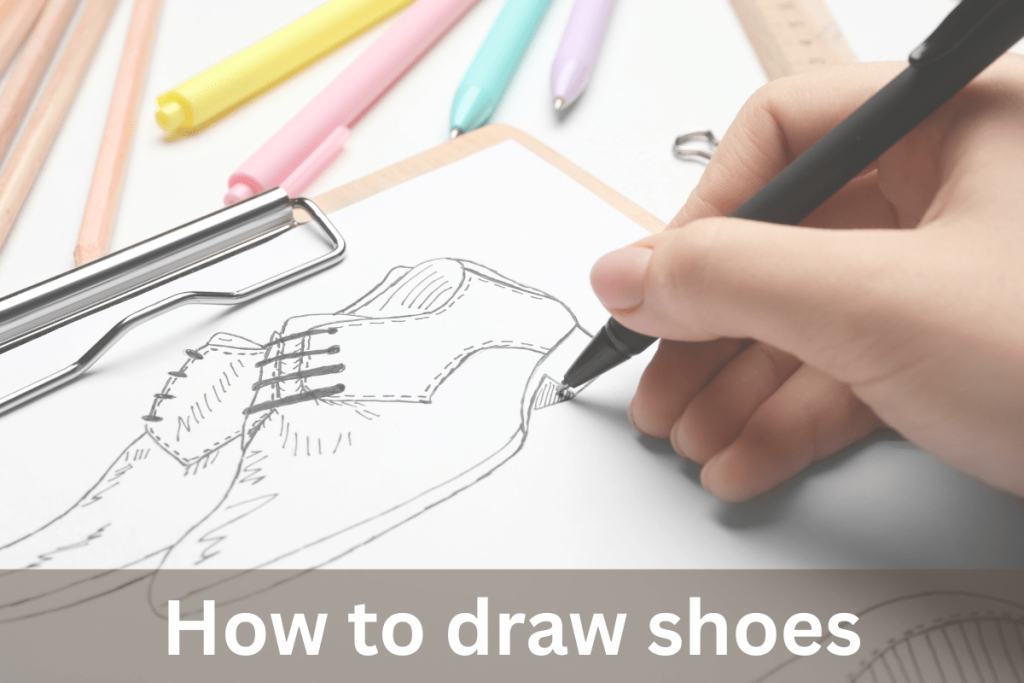
Learning how to draw shoes is an enjoyable and imaginative skill that anyone can master, whether you’re just starting out, a seasoned artist, or a budding fashion designer! This guide will take you through the essentials of shoe drawing — from creating the initial outline to incorporating details like laces, soles, and textures. You’ll find helpful tips for illustrating various types of shoes, including sneakers, heels, boots, and sandals. With straightforward instructions and practical techniques, you’ll enhance your sketching abilities and bring your shoe designs to life. So grab your pencil, and let’s dive into the world of stylish shoe drawing like a pro!
Have you ever thought about the benefits of learning to draw shoes? There are quite a few great reasons to explore this skill. To start, sketching shoes can greatly improve your drawing techniques, allowing you to refine your understanding of shapes, shading, and perspective. Moreover, if fashion design piques your interest, being able to illustrate stylish footwear is a crucial skill to have. Once you get the hang of it, drawing shoes can also turn into a delightful and imaginative hobby that you will love.
Essential Items for Shoe Drawing:
• An appropriate pencil, preferably HB or 2B, is recommended.
• An eraser to correct mistakes
• A sharpener to keep your pencil sharp
• A reference image, like a photo of a shoe or the actual shoe itself
Step-by-Step Guide : Drawing Sneakers
To illustrate the process, we’ll use a basic sneaker as our model. The techniques you learn here can easily be adapted to sketch other styles of shoes as well.
Step 1: Establish the Fundamental Outline
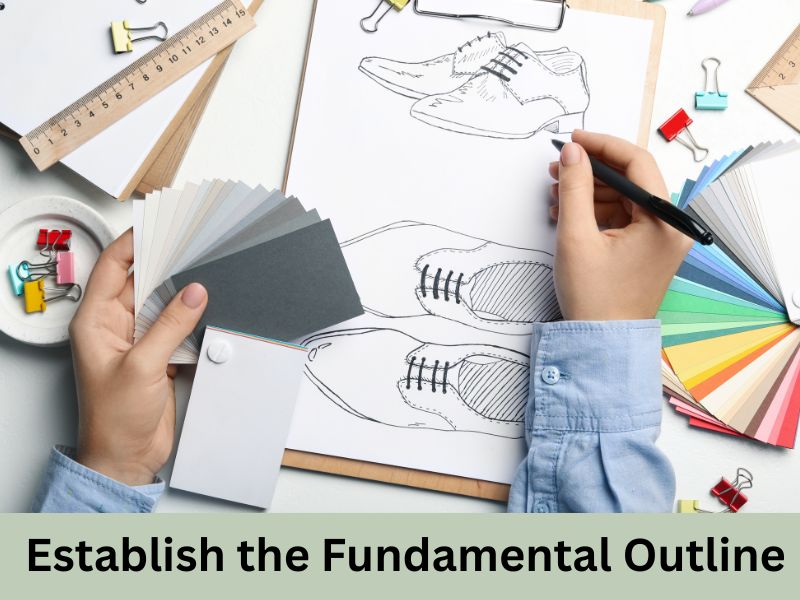
Start by drawing a basic oval or rectangle to symbolize the shoe’s sole, which represents the bottom section. Visualize it as the imprint that the shoe would leave behind. Ensure that you add a slight curve for a more authentic look. This outline acts as your base, so take your time to refine the shape.
Step 2: Define the Shoe’s Structure
Commence by delineating the upper part of the shoe, beginning at the rear of the sole. Form a gentle upward curve to define the heel, ensuring it integrates seamlessly into the overall design. Next, draw a continuous line that leads towards the front, defining the toe area. It is important to blend these lines seamlessly to capture the organic contours typical of an actual shoe.
Tip: Utilize light pencil strokes for your initial drawing. You can always enhance them with a darker pencil once you are satisfied with the design.
Step 3: Add the Tongue and Laces (For Sneakers)
Next, illustrate a curved tongue that rises from the center of the shoe. For the laces, draw two parallel lines and include small circles where the laces will pass through. If you are designing loafers or slip-ons, you can omit the laces and instead concentrate on adding details such as stitching or texture to elevate the overall appearance.
Step 4: Illustrate the Heel and Sole Features
Begin by enhancing the shoe’s sole, making it thicker to give a more realistic appearance.
Next, sketch a small rectangle or a soft curve at the back to depict the heel.
Feel free to incorporate unique patterns, logos, or brand elements to give your design a personal touch.
Step 5: Refine and Clarify the Lines
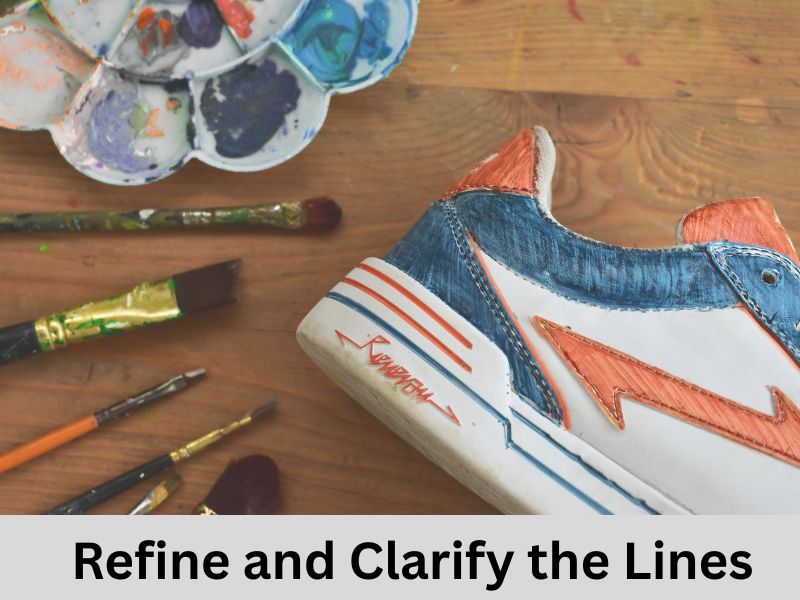
Now, let’s focus on tidying up your drawing:
Start by erasing any unnecessary or overlapping guidelines. Then, go over the final outline with a darker pencil to create a bold and polished look. To add depth, consider including texture lines or stitching details for an extra layer of interest.
Step 6: Add Depth to Your Shoe Drawing
To enhance the dimensionality of your shoe illustration, start by shading the interior to create a sense of shadow. Focus on darkening specific areas such as beneath the sole and within the laces to give it a more realistic appearance.
If you’re aiming for a lively and colorful effect, consider using colored pencils or pens to bring your drawing to life. This will not only add vibrancy but also make your artwork stand out beautifully.
Bonus: Adapting Your Technique for Various Shoe Styles
When it comes to different types of shoes, a few adjustments can elevate your drawing skills. For high heels, begin with a slender, pointed toe box and incorporate a long, delicate heel at the back. Ensure the arch is steep and fashionable to capture the essence of this style.
For boots, remember to extend the shaft upward from the heel and consider adding thick soles or unique patterns that reflect the boot’s character. Don’t hesitate to experiment with straps or buckles to enhance the design further. Lastly, for sports shoes, focus on thicker soles and curves that prioritize comfort, while adding support lines or mesh textures for added detail, especially around the ankle area.
Frequently Asked Questions (FAQs)
1. What supplies are necessary for sketching footwear?
To begin sketching footwear, you generally require a pencil, an eraser, drawing paper, and optionally, colored pencils or markers for adding details. Utilizing a reference image can prove to be advantageous. It provides a visual guide that can enhance the accuracy and quality of the work.
2. Do beginners find it difficult to draw shoes?
Not in the slightest! By utilizing fundamental shapes and following step-by-step instructions, even those new to drawing can create footwear illustrations. Consistent practice and keen observation are essential.
3. How can I start drawing a shoe?
Start by creating a fundamental outline with basic geometric shapes, including ovals and rectangles. Subsequently, incrementally incorporate details such as laces, soles, and shadows.
4. Which shoe designs are the easiest to depict?
Starting with sneakers, loafers, and simple sandals is easier. High heels and boots could be a bit more complex because to their angles and curves.
5. Can I draw shoes digitally?
Yes! Many artists use tablets and drawing software like Procreate, Photoshop, or Sketchbook to draw shoes digitally. The principles are the same as drawing on paper.
6. How can I make my shoe drawing look more realistic?
Focus on shading, proportions, and texture. Observe real shoes or reference photos closely to understand how light and shadow work.
FAQ: How To Draw Shoes
Q1: What materials do I need to start designing shoes?
A: Start with simple items like pencils (HB and 2B), erasers, sketch paper, and colored pencils or markers to add color.
Q2: How do I start drawing a shoe?
A: Start by drawing the basic shape or contour of the shoe. Consider the general form before adding elements like as lace, embroidery, or textures.
Q3: What are the key features to consider when drawing shoes?
A: Consider the sole shape, heel height, toe box, and any distinguishing design elements like straps, laces, or patterns.
Q4: How can I make my shoe drawings more realistic?
A: Use shade to create depth and dimension, and pay close attention to light sources. Adding texture, such as leather grain or fabric patterns, can further improve realism.
Q5: Are there many approaches for drawing different sorts of shoes?
A: Yes! Sneakers, for example, frequently include elaborate stitching and bottoms, whereas dress shoes emphasize smooth contours and gloss. Examine reference photographs of each category to understand their essence.